
Price:$


Abstract: the flow chart of car DVD navigation loading is SuoHang for want to modified the owner of the car DVD navigation of a modification of the detailed tutorial, we have done detailed of car DVD navigation modified decomposition, this is our engineers modified car DVD navigation to stay now valuable experience to share with everyone, the following article will detail how to introduce the car DVD navigation.
Vehicle Navigation Modification Flowchart Vehicle DVD navigation Modification
Flow chart of car DVD navigation loading is SuoHang for car owners want to modified car DVD navigation prepared a detailed modification tutorial, we have done detailed of car DVD navigation modified decomposition, this is our engineer adapted the precious experience of car DVD navigation to stay now Shared with everybody, with this you can diy modified SuoHang car DVD navigation.
Steps/Methods
1. Prepare the tools for loading the machine
2 Pry up the left trim bar
3 Pull up the left decorative strip clasp with force
4 Pry up the right decorative bar
5 Pull up the right decorative strip clasp with force
6 remove 8 screws from the panel
7. Remove the four screws of the central control base plate
8. Lift up the rear of the central control base plate
9. Lift up the rear of the central control base plate
10. Pull back the central control base plate and separate it from the original car audio
Remove the power cord of the original car panel
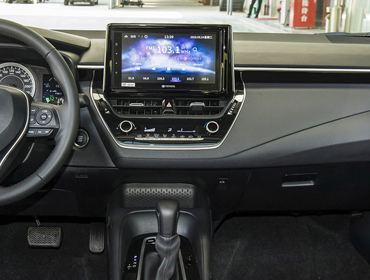
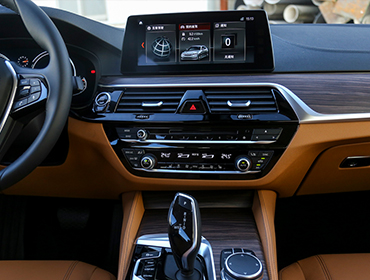
After disconnecting the panel, the host and LCD screen are revealed
13 4 screws in sampling host machine,
14 Take out the main engine
Unplug the power cord and the radio antenna
Three parts are to be installed. Press the key board, main engine and TFT screen are ready
17. Please insert the tail wire of our main engine;
From left to right are radio antennas: IPOD/TV cable, RCA cable, KB board cable, TFT cable, power cable
18. GPS antenna after TFT screen is connected
19. Connect the KB board connection wire and the original car power tail wire
20. Take out the AUX socket plate at the side of the storage box (push it out with hard objects and then pull it out with hard force)
Remove the AUX socket board of the original car and install it on the USB board of our company
22. Arrange the wiring inside the gear and lead the USB and IPOD cables back to the host computer
23. Remove the two white glue posts of the original car's keypad and install them on the keypad to be installed
24. Insert the video line of astern watching (the huang Gong head of the camera is inserted in the green mother head of the tail line of our company)
25. Connect the astern control line, and pay attention to the fact that the power supply line of the on-board navigation machine camera does not need to be connected to the power line of the backlight. The green control line of our company can supply power to the camera, and at the same time, attach the ground wire connected by TFT to the host screw
26 press the button on the upper part of the key plate and buckle with the TFT screen first
27 Push the panel up
Screw the TFT panel and the keypad
Install the handle panel
Install the storage box USB, IPOD socket
Plug the cable and antenna into the TV box
32 At this point the loading of the trans-Boundary truck was successfully completed
Matters needing attention
In the modification process, pay attention not to scratch the car panel, damage to the beauty of the car.
Please follow the process of modification to avoid unnecessary trouble.
In particular, the modification of car DVD navigation lines in strict accordance with the instructions wiring.
The copyright belongs to the author.
Commercial reprint please contact the author for authorization, non-commercial reprint please indicate the source.
Link: https://www.maigoo.com/goomai/140115.html
= = = = = = = = = = = = = = = = = = = = = = = = = = = = = = = = = = = = = = = = = = = = = = = = = = = = = = = = = = = = = = = = = = = = = = = = = = = = = = = = = = = =